# Managing Tabnine Teams
## Logging into Admin Console
Once installed, your instance already has your first admin user set up.
The first admin's user name is set according to the email provided in the installation process (referred to as "first admin user" during setup).
To retrieve the initial password for the first admin user, run the following command on your Kubernetes cluster:
```bash
kubectl -n default get secret default-password --template=‘{{.data.password | base64decode }}
```
Once you get the initial password:
1. Enter your Tabnine instance URL in your browser.
2. Login to Tabnine using your username and password:
{% hint style="info" %}
Make sure you change the first admin user password, since the initial password can be viewed by anyone using the above command.
\
To change your password, click the **Forgot your password?** link.
{% endhint %}
.png)
## **Setting up your organization**
To achieve the full potential of your Tabnine Enterprise Server, we recommend reviewing the following documentation:
1. [Tabnine teams](https://docs.tabnine.com/main/administering-tabnine/managing-your-team/tabnine-teams)
2. [Roles in an enterprise](https://docs.tabnine.com/main/administering-tabnine/managing-your-team/roles-in-an-enterprise)
3. [Inviting users to your organization](https://docs.tabnine.com/main/administering-tabnine/managing-your-team/inviting-users-to-your-team)
After installing the Tabnine Enterprise Server, the next step will be to onboard your colleagues and teammates so they can start using Tabnine.
## Tabnine Teams
Tabnine's authorization system is based on different teams within your organization. A team is a group of users who are using Tabnine.
On installation, your organization will already have one default team, but you can create multiple teams according to your organizational structure.
#### **Why use different teams?**
1. The team structure makes it easier to manage Tabnine authorization within your organization. We recommend creating the teams according to your organizational structure to allow for better control.
2. A team is also a unit of measure for monitoring Tabnine's performance within your organization.
3. Access and connections are managed at the team level, where each user only has access to repos that are connected to their specific team.
### **Onboarding a Team**
To permit teammates to access Tabnine, they must receive an invitation to become authorized users. This approach is designed to prevent unauthorized usage of Tabnine and enables administrators to ensure it reaches the intended audience.
**There are 2 ways to onboard new users to Tabnine:**
1. Via the link in an email invitation
2. Via an invitation link
As mentioned previously, Tabnine's default installation already contains your default team. If you don't require additional teams, you can skip the next section (Managing teams) and skip straight to the [Inviting users to your organization](https://docs.tabnine.com/main/administering-tabnine/managing-your-team/inviting-users-to-your-team) article where both invitation options are covered at length.
### **Managing Teams**
**Creating a team**\
To create a new team (Admin or Manager role):
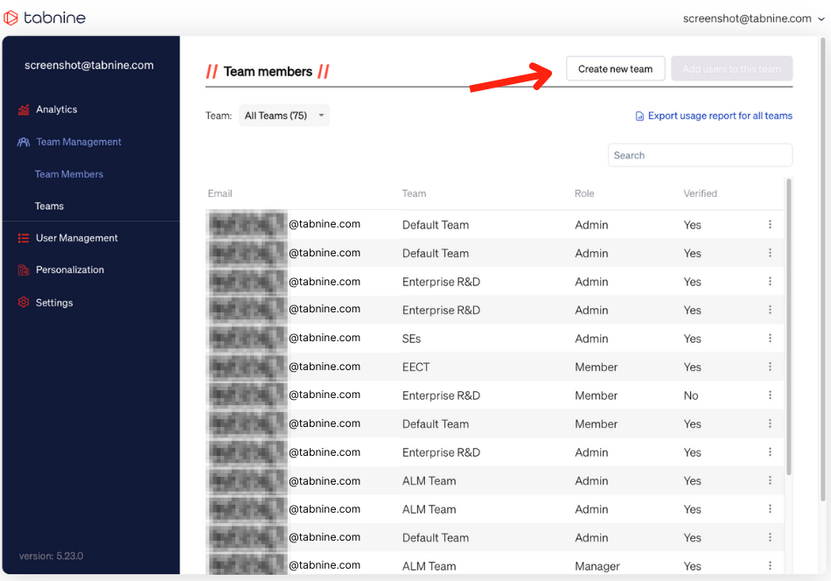
1. Navigate to **Team Members**
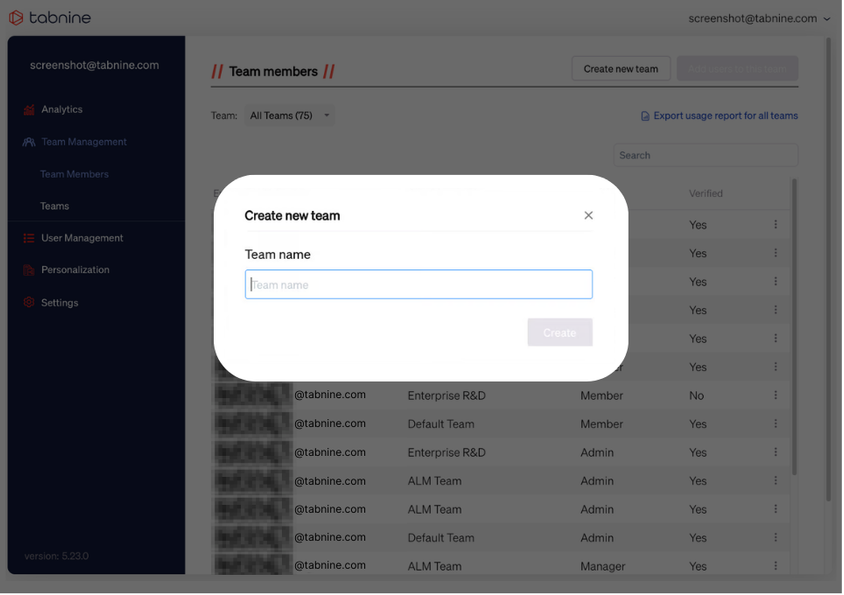
1. Click **Create new team** on the top right-hand corner of the screen
2. Alternatively, at the bottom of the **All Teams** dropdown menu, click **Create new team**
3. Finally, on the **Teams** page, you can select the +**Create a new team**
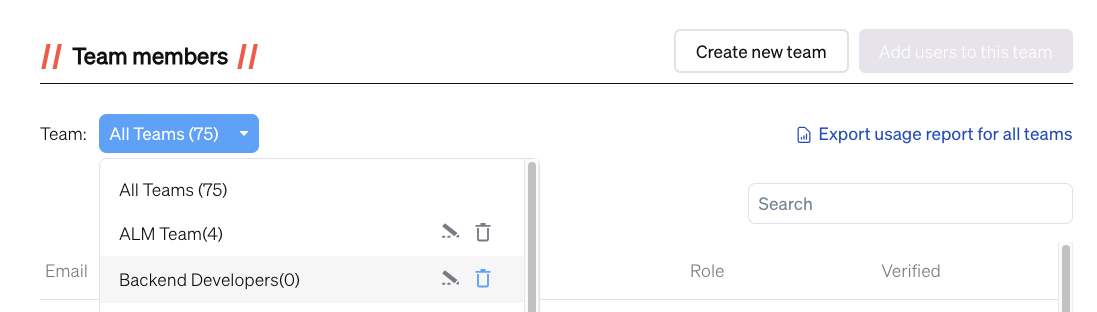
### **Edit a Team Name or Delete a Team**
To edit or delete/remove a team, click the **edit**/**trash bin icon** next to the team's name in the **All Teams** dropdown.
{% hint style="info" %}
Important note about team deletion
1. Only Admins can delete teams.
2. Deleting a team will remove the team and disband all the current team users.
For users of the removed team to continue using Tabnine, they'll have to receive and accept another invitation and select their team to join.
For more details on how to invite users to a team, see [Inviting users to your organization](https://docs.tabnine.com/main/administering-tabnine/managing-your-team/inviting-users-to-your-team).
{% endhint %}
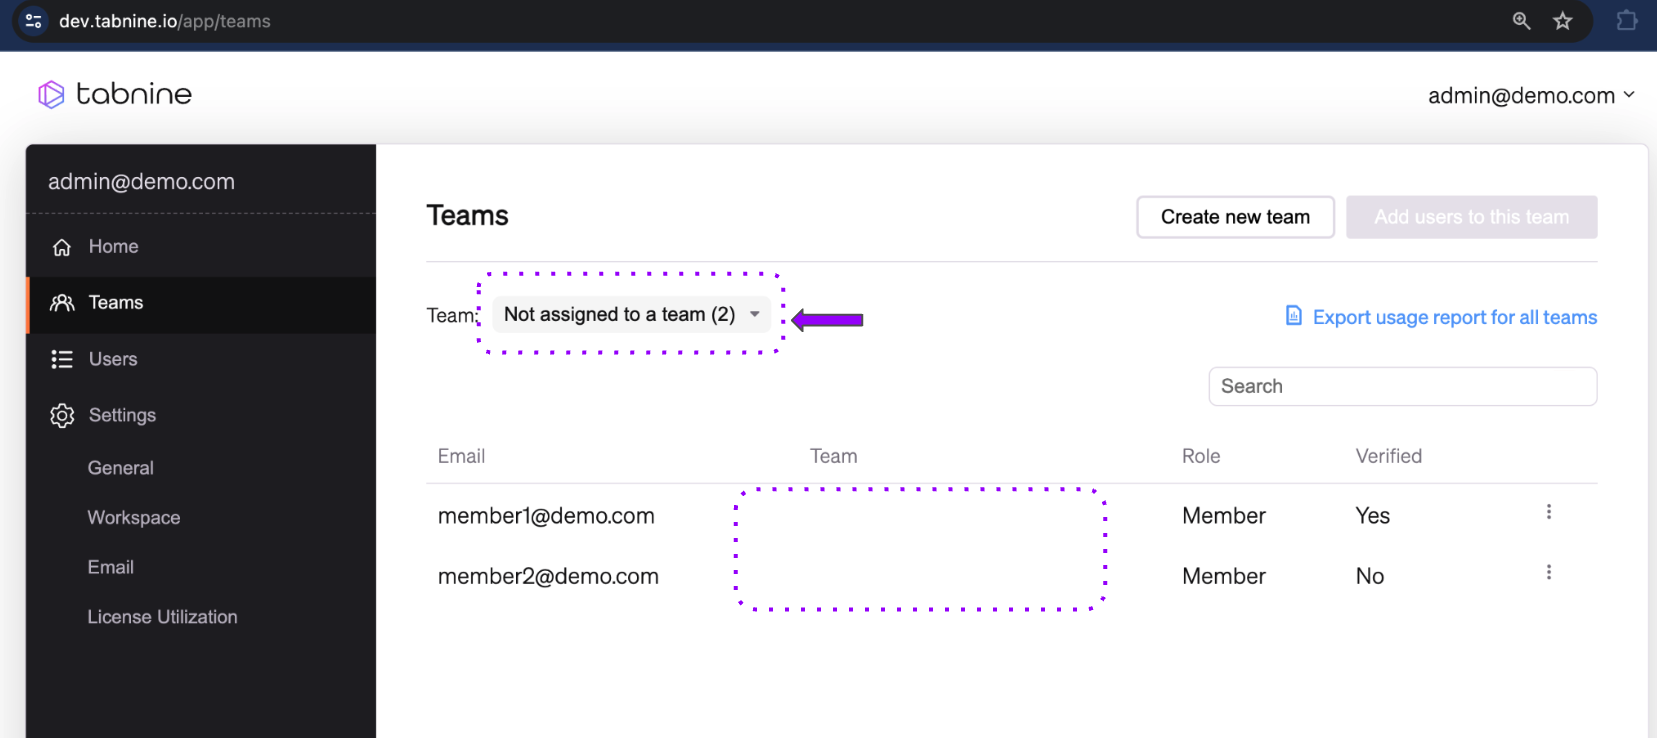
### Viewing users who are not assigned to a team
Some users are not assigned to a team, which can happen after a team admin removes a user from a team or deletes a team.
Users who aren't part of a team can't work with Tabnine until they join a new team.
To view these users, go to the Teams page and select the **Not assigned to a team** option in the Team dropdown:
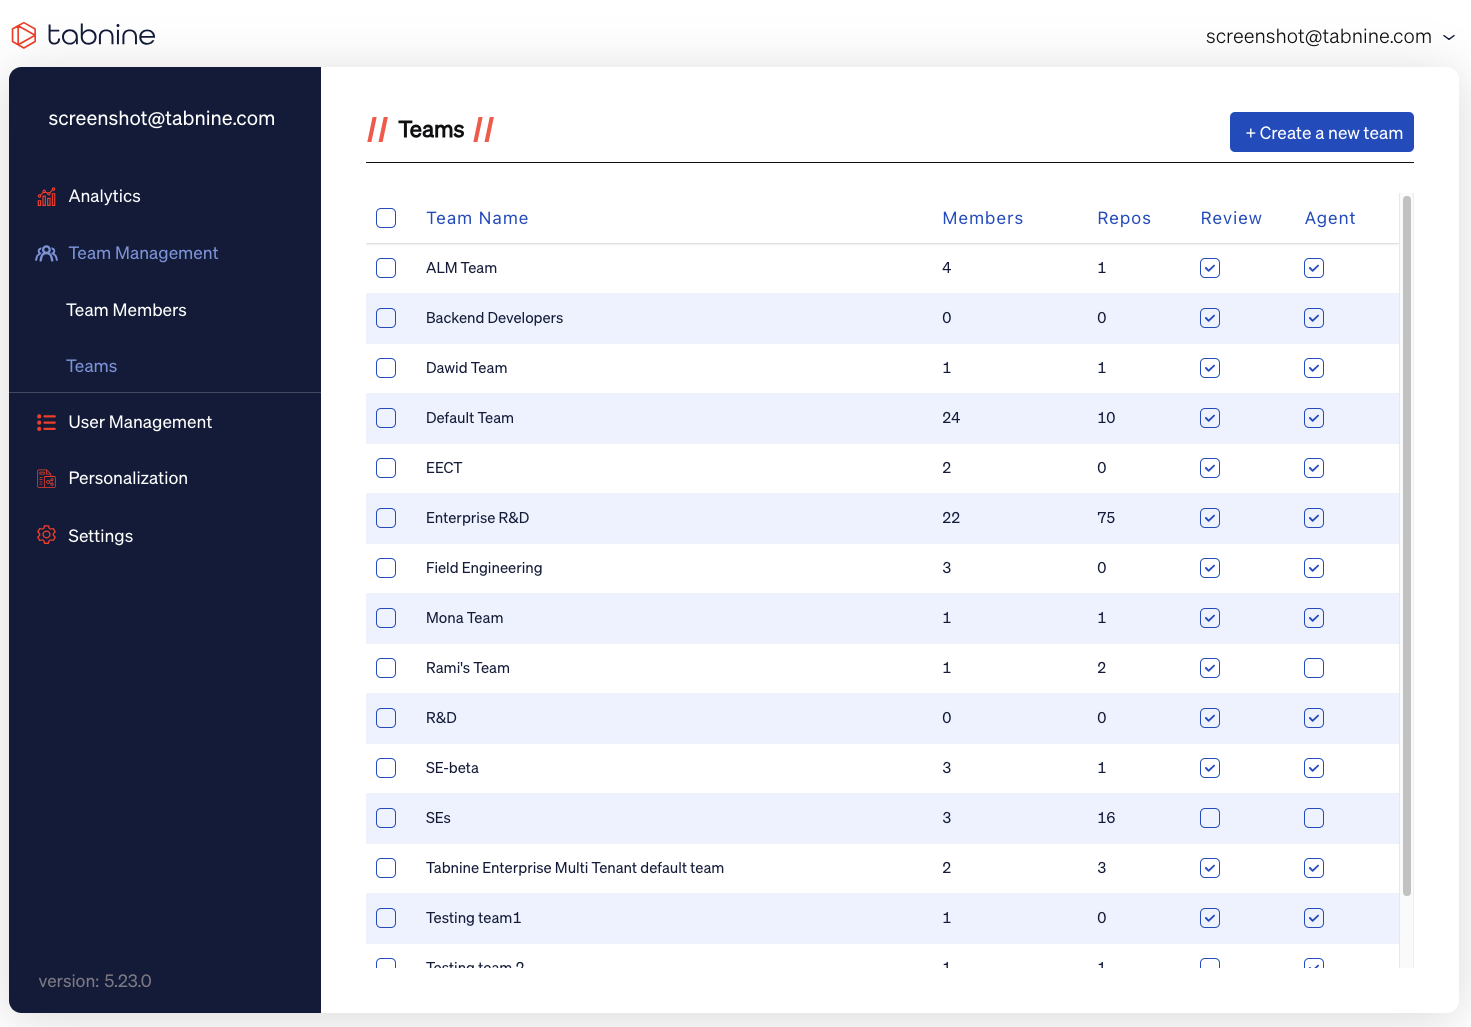
### Adjusting Teams' Permissions
On the separate Teams page, you can see *how many* members and repos that particular team has.
Additionally, you can grant access to individual teams for Code Review under "Review" or Agent by checking or unchecking that option, as seen below: